woensdag 26 januari 2011

Bonnet clearance.

Next thing to do was re installing the boot (trunk) this was quite straight forward to do and gave no problems at all.


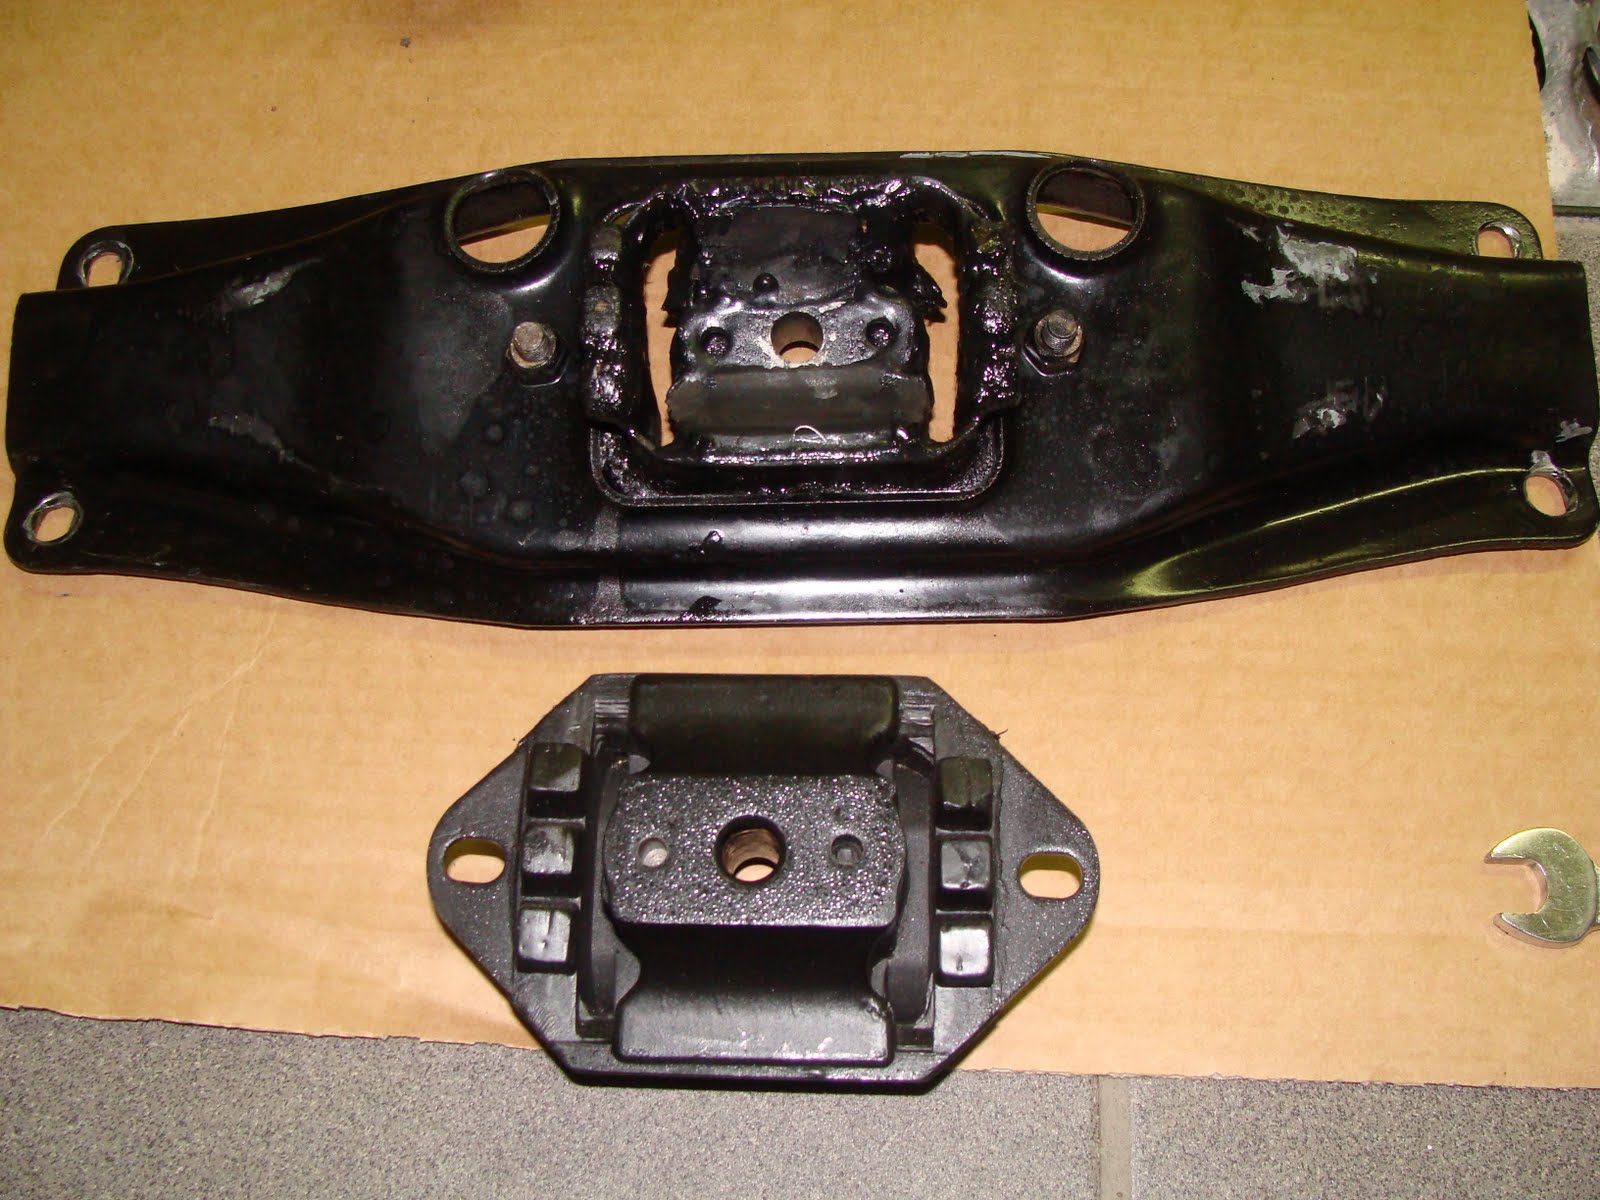
After this I carefully installed the bonnet and after closing it there was still plenty of space between carbs and bonnet (approximately 1’’). Remember there are no spacers between sub frame and chassis; I only adapted the wholes in the engine supports.


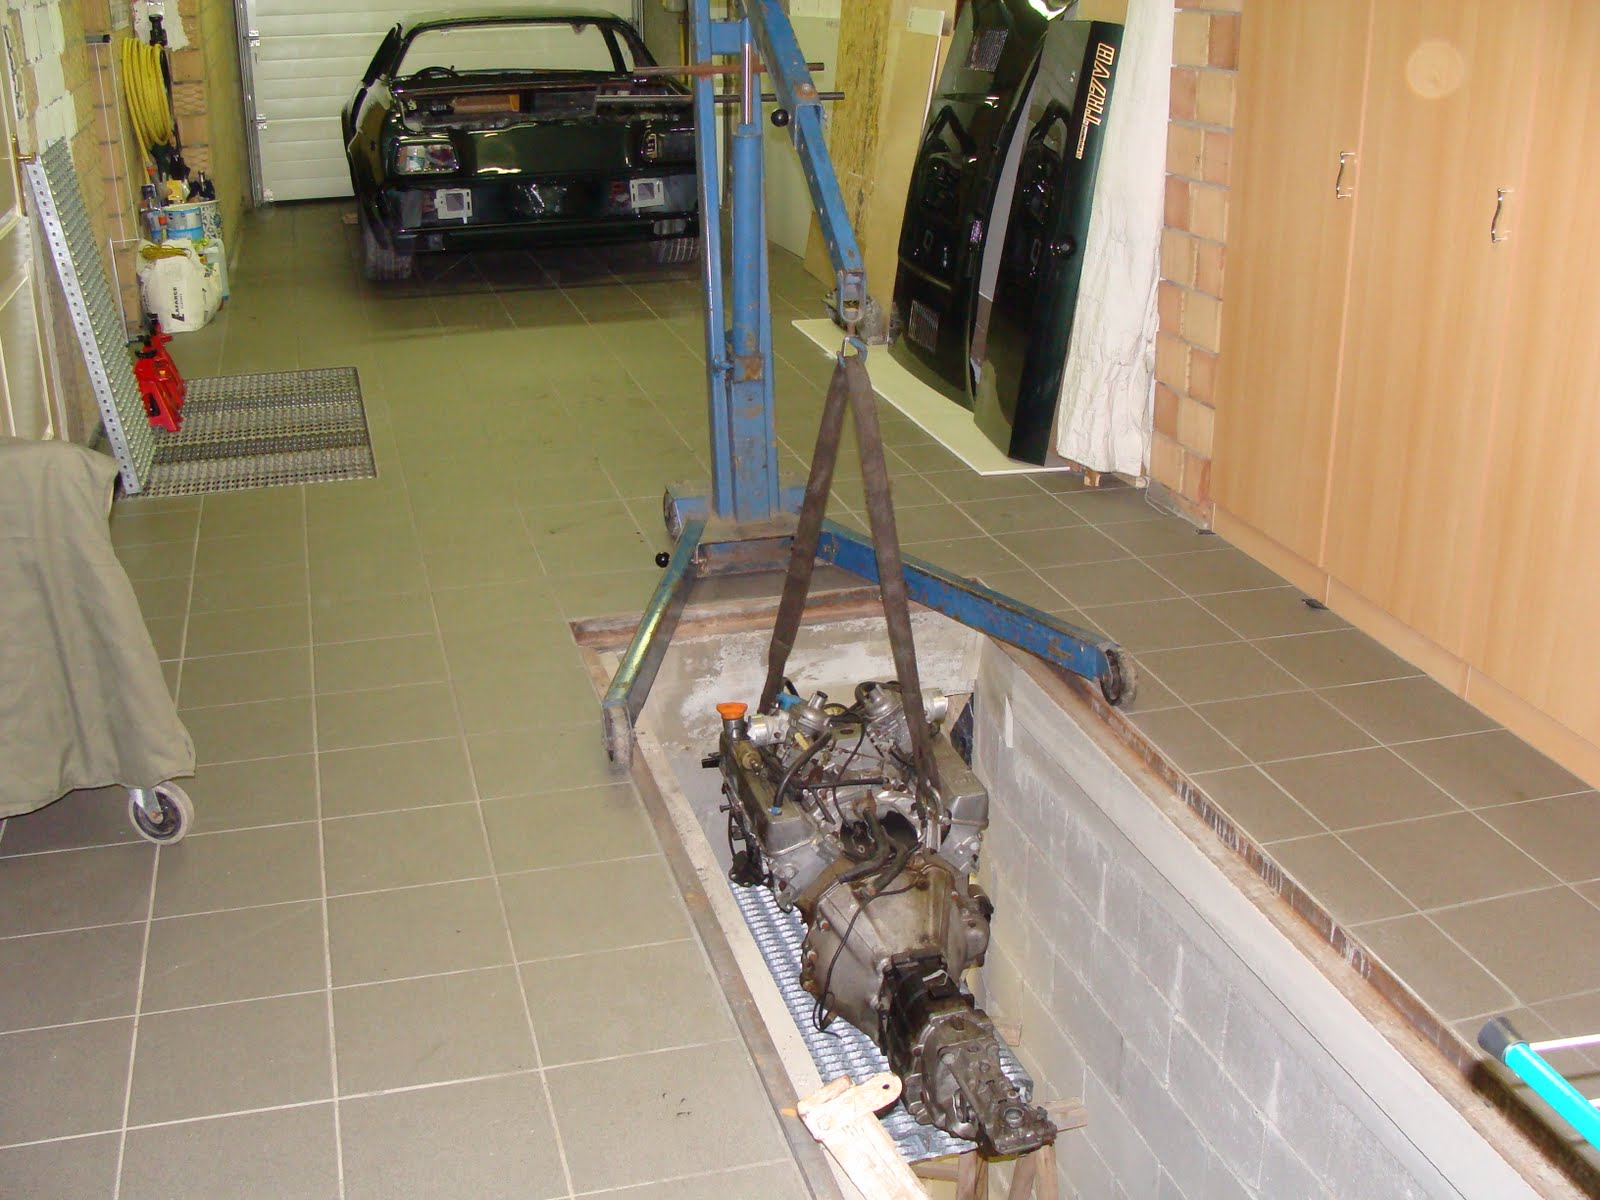
On the inside, the body panels still need the greasy rust protection but the car is in a warm and dry garage so no rush for this. For the moment the progress on the car will be slow because I’m out of the country for a couple of weeks for work and after that I have to prepare the kitchen for a re build. Once that is done al my attention can go back to the car (and the misses of course).


Forgot something.

I know there is still a lot of cleaning to do; this will be the next job after this one


I had forgotten to do first things first, meaning installing the steering guiding thing.


New poly bush and washer and spring washer.


So I took my chance and had a go with a cup of hot water a screw driver and my two thumbs and after a minute or five the bloody thing was in place leaving me behind with two sore thumbs.


But I guess I was lucky after all it only took me five minutes and after a cup of coffee and a piece of pie my painful thumbs were forgotten (a trick I learned from Beans).


Engine in place?

I took the opportunity to change the worn dust caps at the same time.


Straightforward and not expensive.


Engine in possition.


Although I tested the clearance between carburetors and bonnet before the re-spray I still was a bit unsure whether there would be enough clearance.


They do stick out quite a bit…


Gearbox support

Lifting the engine a bit more allows to re bold the sub frame and the gearbox support to the chassis.


But not after replacing the gearbox damper with a new hard (TR8) damper.


Also the sub frame and steering rack received a re-spray so that they look nice when installed on to the car.


Ready to install the painted sub frame


Engine installation II

The sub frame needs a good clean.


After removing the sub frame the engine can be hoisted up and the sub frame can be reattached to the engine.


Installing the engine.


At last the pit will serve its goal, the engine is lowered into the pit and the car is put above it.


Baby's home again.

As soon as possible I will mount the doors, bonnet and boot because I don’t like things standing on the side; the only thing they can do there is to fall over…


The heart is waiting to be transplanted.


Lots of work to do in the near future but I'm looking forward to it.


Rover Metallic British Racing Green

The decals weren’t easy to put on; in a close up you can see little air pockets but from a normal distance you can hardly see them. (I think it’s got to do with the fresh paint, the decals are put on immediately after the paint is more or less dry directly followed by the varnish, the combination of this all along with the oven makes it difficult to not have air pockets I guess).


The color isn’t Poseidon green because the shop couldn’t find the right numbers to make the paint so now it’s Rover Metallic British Racing Green.


I like this color even more although it’s not an easy color to make nice pictures of (especially with a flash). Sometimes it even looks like the car is black, I just love it...


First forgotten but now they're done; headlamps and (bullit) mirrors.


After the paintjob.

Finally the car has been sprayed and the guys from the spray shop done a brilliant job


also the guy from the body shop can be proud; he has put a lot of effort into the car and the result is magnificent.


The car still needs a final polish treatment so that any dust particles or little varnish tears running from the decals can be removed


woensdag 12 januari 2011

Spray shop part two.

The loose parts got the varnish layer but the rear bonnet will be sanded again today to put the rear badges on and then it will receive a new spray of varnish.


The doors and front bonnet are finished but everything will be checked and polished or fine sanded if necessary to make it spotless.


Today the car body will be sprayed along with the mirrors and lights witch was forgotten yesterday.


When the car is finished in the spray shop it returns to the body shop where the inside of the body panels will receive a greasy anti rust protection.

Finally at the spray shop

Finally the car is in the body shop to give it its final color, first of al the engine bay has been done and also the loose parts are sprayed yesterday.


On the front of the car are the badges (front and side and rear) along with some pictures and measurements to make clear where to stick them.

When the badges are on the car the paintwork will receive an extra layer of varnish this way the badges are more protected and it gives the paintwork a brighter shine.


Today should be the day that she receives her definit make up, cross fingers...