vrijdag 21 mei 2010

Strange hole in the foam

It’s a good thing I dismantled the heater notice the dirt and leaves that came out of it.


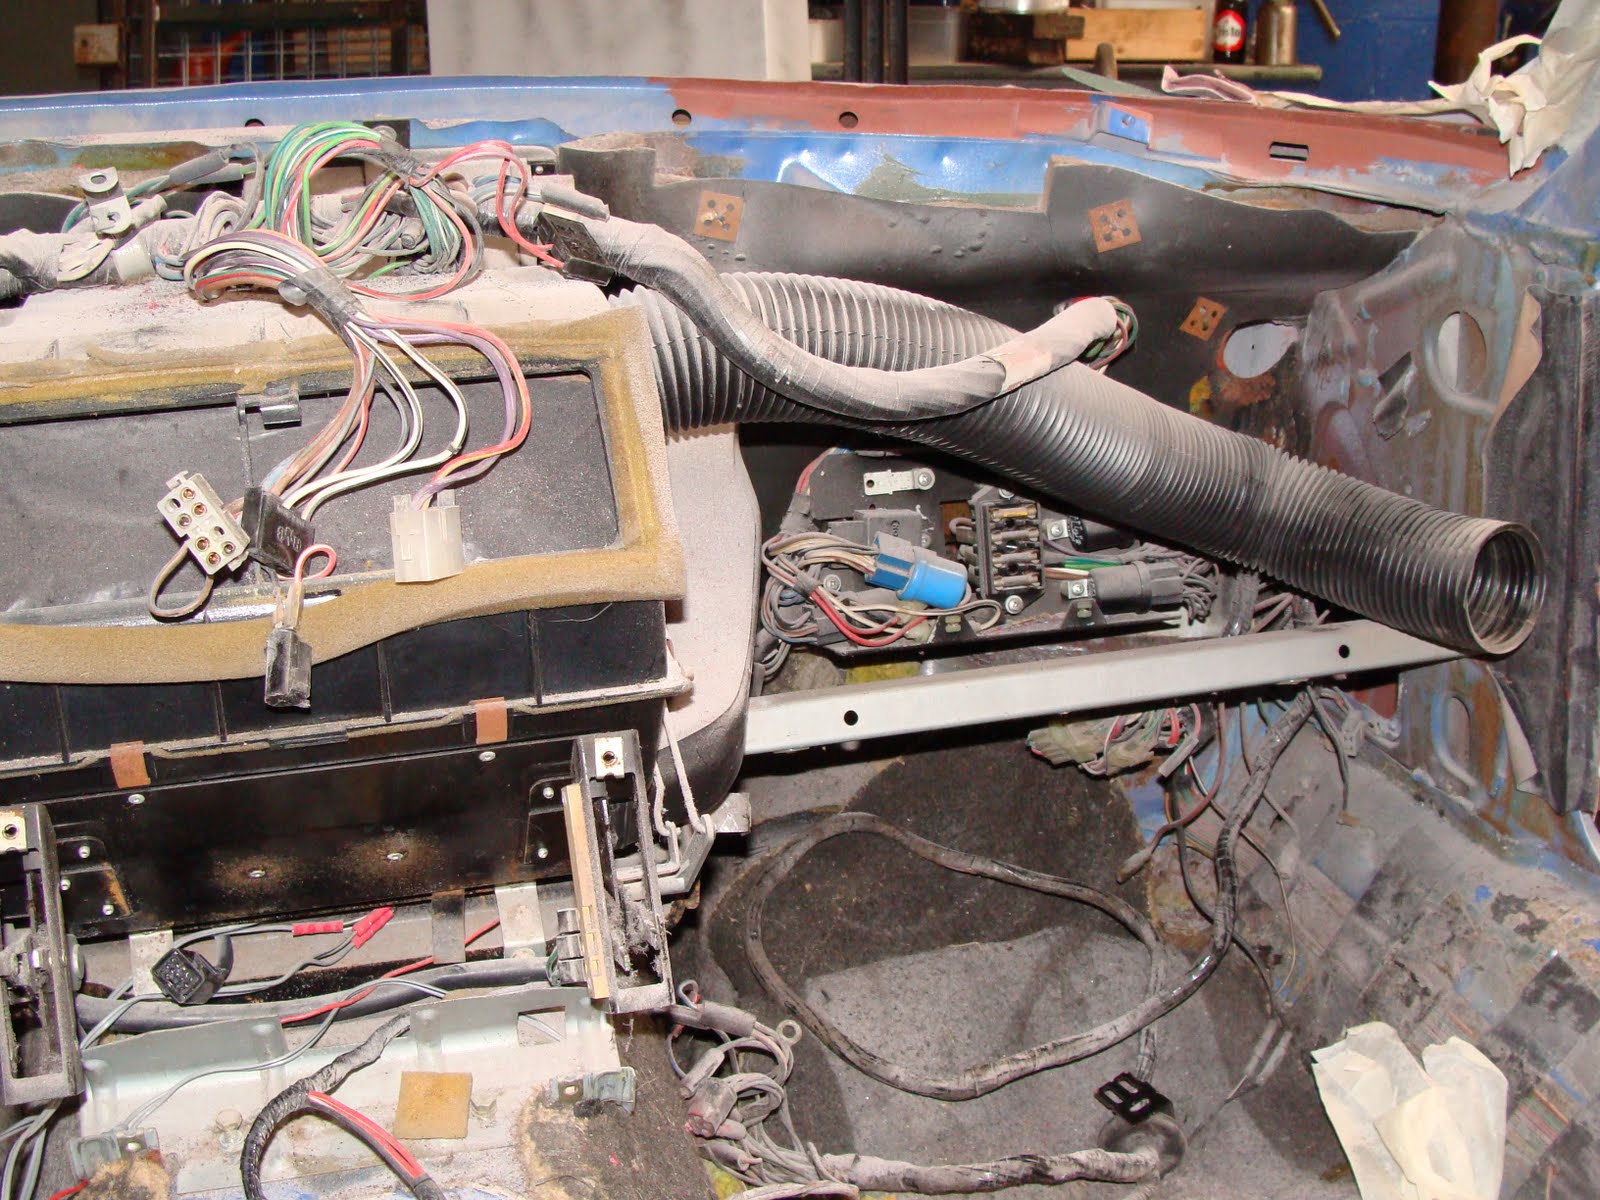
The upper part of the heating unit, quite simple to disconect from the lower part.
You just need to drill out two rivets.


I will replace this plastic by a proper foam.


This is wat's left of the old foam...


On the back side of the water pipes foam there’s an impression of something but there is nothing on the metal plate where it was positioned so what could be the reason for this impression. Has somebody been working on the heater before?
I don’t think so because the car has only 50 000 Km and when it had it’s re-spray the heater wasn’t removed because there are spray marks on it.

Or did they at Speke use foam that already was used for something else?
I’ve been amazed by the sometimes poor building quality like welding and the lack of any rust prevention but even when the car has been completely stripped and you think you have seen it all another surprise pups up.
That’s what I like about these cars; the more you know about them the more you become aware you know nothing at all.
OK I apologise I just found out that the foam has original three holes (see Rimmer catalogue) I do learn each day.
But what's the third hole fore?

Dismantling the heater unit

OK Beans this is your fault; I’m paying my attention to the heater unit now and will try to dismantle it to give it a good clean.


There seems to be no excessive play in the linkage they just need a good clean and some new grease.


Three holes in the water pipes foam, I’ve never noticed the third one before, strange.


I will need some new foams...


For those who don't know Beans check this out: http://tr7beans.blogspot.com/


Unknown parts

I came home from the workshop and putted everything in the shed.


The shed is starting to get full again.


Some pieces I’ve found underneath the dashboard when dismantling it.
but I don’t recognize them immediately, there is a bracket (don't know where that came from)and...


a rubber stop


and one other weird thingy (this part looks a ventilation part to me like) I'll check the vents...


Removing the fuse box

The fuse box can do with a good clean-up...


I’ve also noticed that one of the wire-fuses has been short cut by means of an aluminum paper wrap. Have to check where this wire leads to because there could be a problem somewhere.


I still have to remove the underfelt carpet.


Removed the heater unit and all the electric wires and started work on removing the bulk head isolation.


Next time I go to the workshop will be in a few weeks because the misses and I are going for a holiday. Any 7’s or 8’s in Cyprus?


Removing the electric wires

All those electric wires go in a logical way and it should be straightforward to put everything back...


but I’m aware that this is not the case when re-installing everything several months later this is one of the reasons I take plenty of pictures.


Removing the whole lot will give me the opportunity to give all the parts a good clean.


I hope the heater will come out easily because I’ve never done this before.


Removing the dashboard

I went to the workshop last Wednesday to make some pictures and to get the dashboard out at last.


The old floor pan plugs are removed and new and more solid plugs are made and weld in to place the same has been done in the boot floor.


Forgot to make a picture of the old plugs they were like carton boards so thin and rusted.


I glued the carpet underfelt kit years ago and now I regret I’ve done it I will need to spend some extra time to clean the floor of the car.

The dashboard is looking very dirty I should have dismantled this sooner.

Starting to dismantle the dashboard...
Beans has got a special influence on me can’t say good or bad but I just can’t stop dismantling things (for the good I guess). All the electric connections will be cleaned because I know from my previous 7 they can be a pain in the you know what.

woensdag 12 mei 2010

Some more rust protection

The doors are well treated with anti rust paint and receive a ground coating.


Afterwards (after the definitive spray) the inside of the doors,


as well as all the rest of the insides of the body panels and chassis will receive an extra greasy protection against rust.


The inside of the bonnet still needs some minor adjustments but it’s almost finished.


Totally grey

After it has been blue (original color) then VW Tornado red it now is ‘Jachtpanzer’ grey and black.


The last part of the car that wasn’t painted grey finally got the grey coat.


This means that work on the body structure is almost finished and work on the Rimmer kit can begin.


Next thing that will be done is the lodgment for the battery in the trunk and shut welding all the holes in the trunk, no rubber grommets for me thanks.


Bonnet story almost over

The bonnet has had some minor adjustments and receives an extra layer of paint,


the other side of the bonnet is also almost finished and there isn’t any difference with the original bonnet to see.


The doors are partially been paint stripped and rust treated.


The inside of the bonnet is getting a grey color.


Rust prevention

There where some little rusty spots everywhere around the front and rear windscreen so these areas are special treated to avoid rust coming from under the windscreens.


A thick layer been put on with a brush.


Small adjustments with a spray.


Later on the seems will be sealed with a special product to avoid water getting between them.


The roof paint stripped

The entire roof has been paint stripped as well as the area around the doors.


The antenna hole in the roof has been shut welded


The holes for the sill kick plates are shut welded as the original sill kick plates will be replaced by stainless steel ones witch I obtained from Robsport.