vrijdag 23 april 2010

Double bulge bonnet again

It's not quite finished yet but it's much better than the old 'new' one.


Looks good on the picture but needs some minor adjusting.


The louvers are de-rusted and got treated with anti-rust paint.


there is still some work to do on the inside of the bonnet though.


Next week a part of the shop will receive a new roof so work on the car will have to wait for a while.


Rear lights panel finished

Some pictures of the finished rear lights panel


This has also been a part that turned out to be more expensive than tought due to the bad rusty condition of the replacement part.


Everything is free of rust now


Seeming the joints will be done after sanding the bodysurface


Again a nice and clean job done.


vrijdag 16 april 2010

Cleaning the louvers

There are some rusty spots in the louvers and these corners are difficult to clean.


A special grinding tool to clean the louvers has been bought


and it does the job well.


A picture of the deformed bonnet with the double bulge cut out.


New old bonnet

The new bonnet I bought was in such a bad shape after the sandblasting


so we decided to adapt the old bonnet by cutting out the double bulge from the new bonnet


and weld it on to the old one.


This has been a stupid and expensive error from the sandblast shop.


nice welding job from the guy from the bodyshop though.

Right rear wing is finished

Due to former wrong installation of the rear wing there was a little dent in the upper part of the wing,


this has been taking care of so now it’s a smooth line again.


There is still the bonnet to do and the antenna hole in the roof.

The next step then is putting the Rimmer kit back on the car, after that the car can go to the paint shop.


dinsdag 30 maart 2010

Bonnet disaster

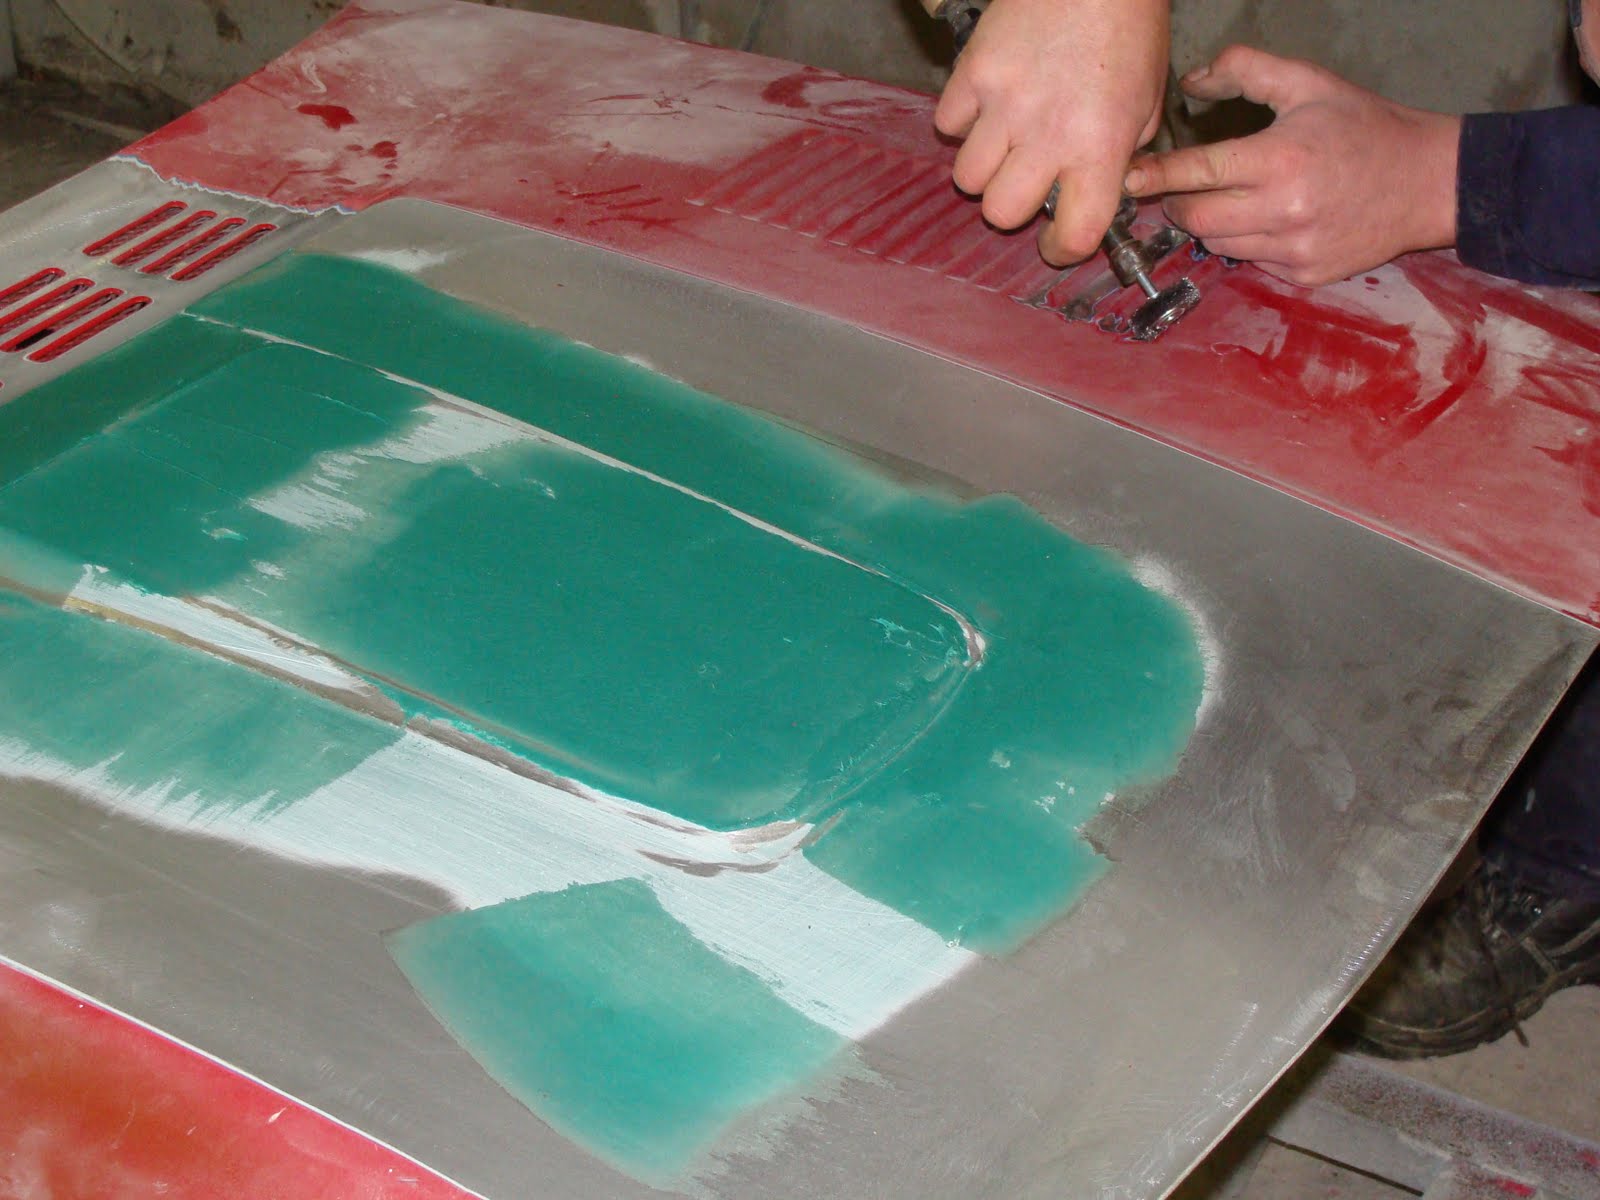
The bonnet was away to sandblast the louvers in the bonnet but the guy at the sandblast shop thought it a good idea to do the whole bonnet altough we didn't ask him.


Of course this had an impact on the straightness of the panel so now I’m left with a deformed bonnet. Grrr.
The guy from the workshop who does my car wasn’t very pleased with this result but he promised he could fix it. This is turning out to become an expensive bonnet.

In the mean while I finished the tiling around the pitch, can’t wait to put my little 7 on it now.


Got some good points: made the wife happy, this time with the easy access to her storage place.


I could do with a storage place myself to put al these good points safe a side, you never know when you need them…

Smoothening the welding

The paint on the inner side of the front is being stripped as this is the place were water leaves the bonnet when it rains, we won’t give the tin worm a chance.


Also the welding on the inner side of the front wings is made smoother.


A ground layer is put on the engine bay, we will pay some more attention to the welded spots in a later stage of the restoration.


A general view from the front.